Delayed, or lazy progress bars have become more popular recently and have been implemented in a lot of games. They’re a very simple UI component to implement, and I thought I could make a quick tutorial showing you how to create a prototype that can be easily added into your game.
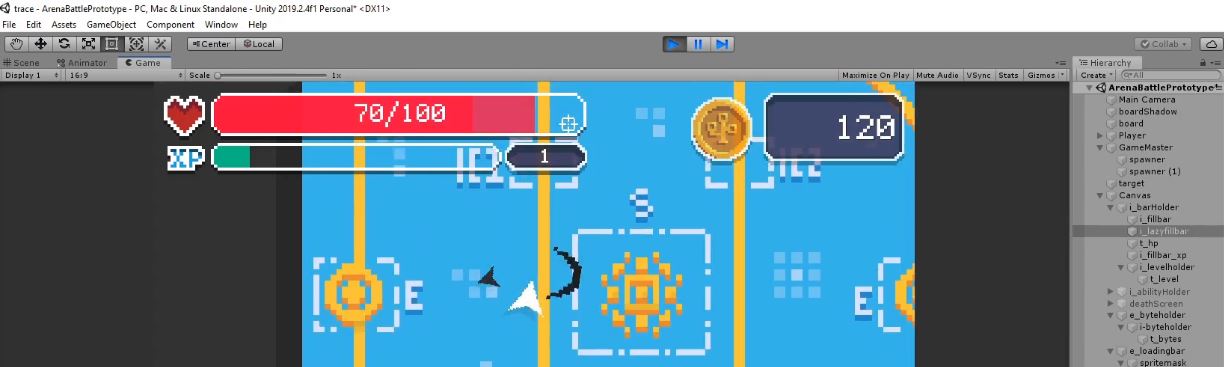
This is what it looks like in my project: TRACE , a game about riding the copper traces along circuit boards in a rather frenetic top-down arena shooter. It takes in elements from computer hardware and electronics, and I’m excited to show more of it sometime soon.
Video Tutorial
Scene Setup:
Create “lazyHealthBar.cs” and copy paste the code below into it. Add this as a component on any object that won’t be destroyed, like the main camera.
Make a new UI canvas with a long rectangle in the middle for the loading bar. You’ll need to fill it with an image (I suggest a blank white sprite, it can be a 1x1 white coloured pixel), and set the fill mode to filled, and the direction to horizontal. Duplicate this so you have two bars on top of each other, and change the colours so they look different.
Then, add a button to cause damage. Since we don’t have a player or enemies or anything like that, we need a barebones way to cause damage. Change the text to “hit” or something to that effect, and then in the OnClick effect, set the object to the one with the following script component (“lazyHealthBar.cs”) - I just added this component to the Main Camera. Then, under the function, select “loseHP”.
Assign one bar to “bar fast” in the script, and the one to “bar slow”.
The scene should look something like this:

The Code
using System.Collections;
using System.Collections.Generic;
using UnityEngine;
using UnityEngine.UI;

public class lazyHealthBar : MonoBehaviour
{
    private float maxHP = 100, currHP, currHPSlow;
    public float damage = 100;
    public Image barFast, barSlow;
    // Start is called before the first frame update

    void Start()
    {
        currHP = maxHP;
        currHPSlow = maxHP;
    }

    // Update is called once per frame
    float t = 0;
    void Update()
    {
        //interpolating slowHP and currentHP inf unequal
        if(currHPSlow != currHP){
            currHPSlow = Mathf.Lerp(currHPSlow,currHP, t);
            t +=  0.5f * Time.deltaTime;
        }
        else {
            t=0;
            //resetting interpolator
        }

        //Setting fill amount
       barFast.fillAmount = currHP/maxHP;
       barSlow.fillAmount = currHPSlow/maxHP;
    }

    public void loseHP(){
        currHP -= damage;
    }
}
The logic behind this is fairly simple:
- The player loses some HP (a button in the scene is pressed) as the loseHP function is called
- currHPSlow != currHP becomes true so the if statement becomes active. Note that we only changed the currentHP value, so only one bar goes down instantly, while the other one stays (it’s fill value, currHPSlow/maxHP still is 1⁄1).
- We call the Mathf.Lerp(a, b, t) function to slowly move the value of currHPSlow to currHP. Since we’re not doing this instantly, we can see it change slowly. The syntax of the Lerp function (linear interpolation) takes three parameters: a, the initial value, b, the final value, and t, the “progress” from a to b. If t = 1, then the lerp function returns b, and if t=0.5, the lerp function returns a value halfway between a and b, or the average.
- t starts as 0, so the lerp function takes on the value of a. That is, nothing changes.
- Every frame, the value of t goes up by some incremental value Time.deltaTime (this gives the time between frames). We can multiply this by some scalar to slow it down (adding 0.5 of the time halves the speed, for example) or speed it up.
- Once t = 1, then our lerp function takes on the value of b, or currHP. Now, our slow HP has caught up to our real HP value, and we can reset our incrementor t after exiting the if statement.
- The fill amount is set every frame as a fraction of the real or slow HP over the max HP, so it’s bounded between [0, 1].
I suggest you look up the docs that I’ve linked at step 3 to understand this better. The Lerp function is extremely useful, especially for variation over time.
Watch the video for a more thorough guide, as this part of the guide is oriented more towards intermediate users.
Thanks for taking a look at my site, and make sure to check out some of the other cool stuff I’ve made. If you have any difficulties or suggestions of things to make, I’d be glad to take them in the comments or in my contact form (above)