Motion graphics effects are ubiquitous in modern video editing, and can often make the difference between a mediocre video and a polished, professional result. Typically, motion graphics software like Adobe After Effects can be expensive (thousands of dollars, subscription based models), and difficult to learn. These 2D effects come in a variety of styles, and all be replicated using the free Blender software, which also provides incredible flexibility and an extremely powerful modelling/animation suite to generate effects. The Video Sequence Editor (VSE) built into Blender can then be used to overlay these effects on top of your own videos, so that you can create custom effects to your heart’s content, like this one:
An example of motion graphics that I’m particularly fond of can be found in the trailer for Cyberpunk 2077 (hype!), which displays an incredible amount of detail and skill in the space of a second or two.
Check out the video at 1:24 for the title and 1:32 for the endscreen.
You can also find myriad examples in video games (particularly cutscenes, for a “military” style, check out some of the cutscenes from COD:Ghosts), commercials, lyric videos, and other animations.
Video Tutorial
Text Summary
In this tutorial, we’ll be making five effects. I’ll summarize their procedures below (For advanced users, otherwise, please view the video)
- Animated Rings
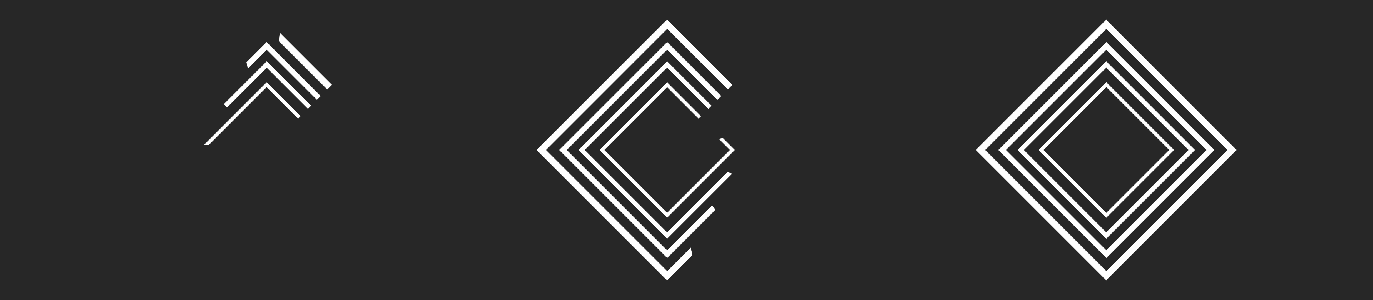
The high level idea here is that the fundamental “animation” is based on a circular reveal of an element (that usually has some radial symmetry, like a regular polygon). Thinking about it like this, we can first define a shape to reveal, and then reveal a circle segment “slice” with an animated interior angle.
Fortunately, the Boolean modifier lets us hide and show parts of an object, and the screw modifier lets us animate rotation filling of objects. We can combine these effects to generate a circular reveal of any object we want.
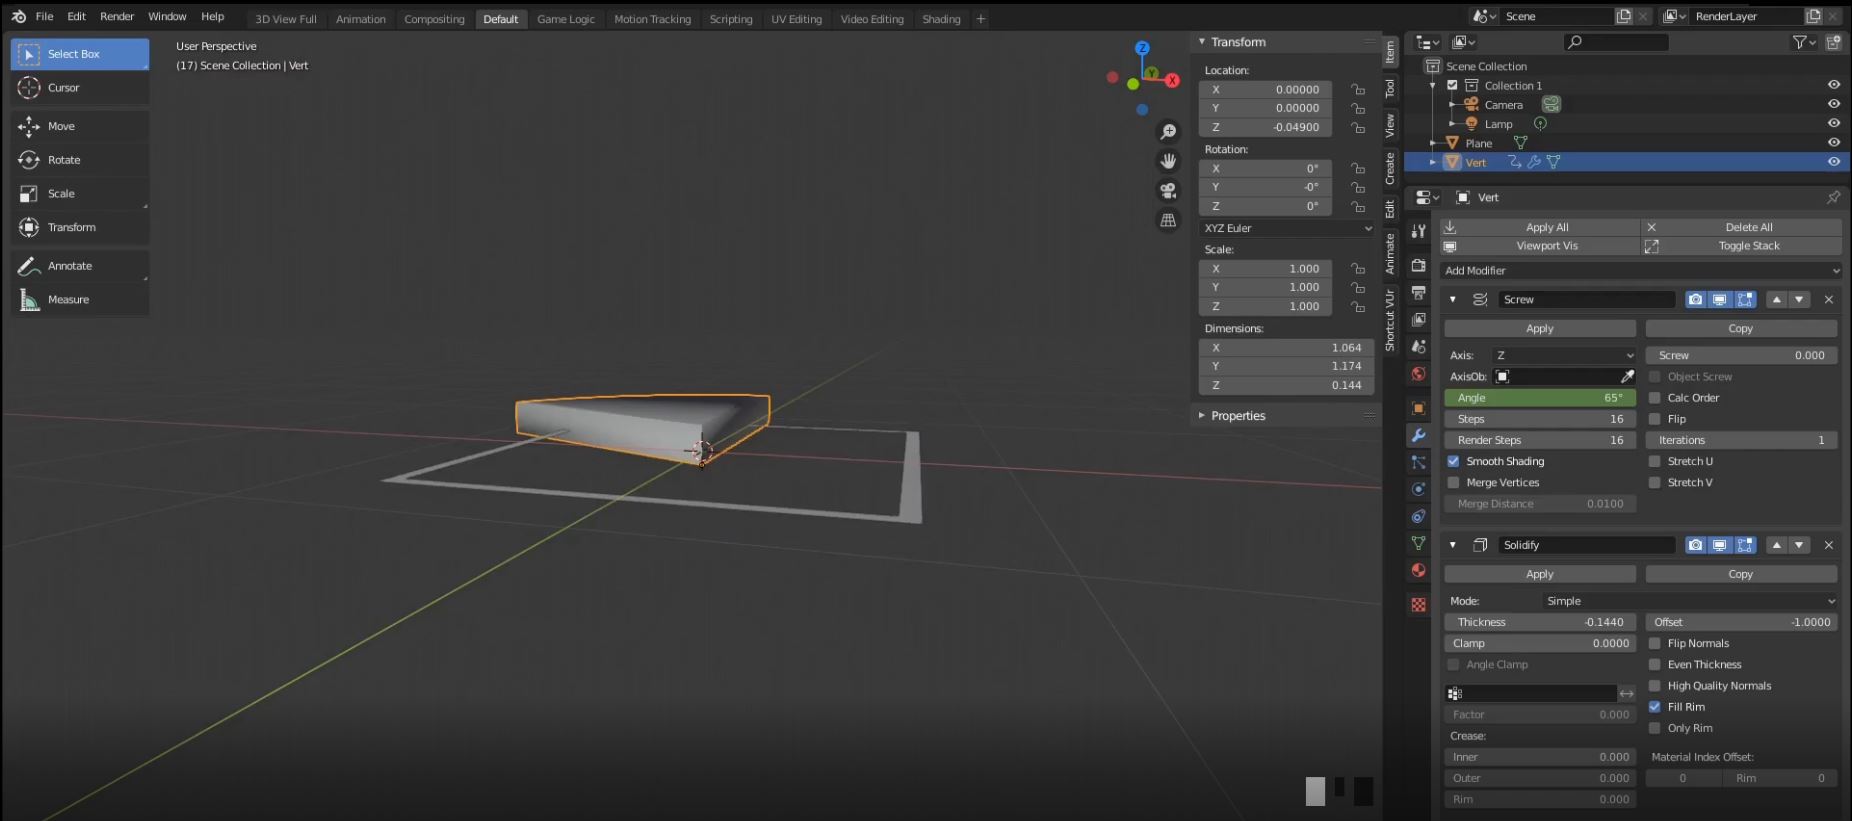
The procedure is as follows: * Set up the object to be animated, a square can be made by insetting a plane and then deleting the inset (Ctrl+I) * Add a base for our screw modifier - this is an edge that servers as the radius, that, when the screw modifier is applied, spins into a full circle * Animate the screw modifier angle * Apply a solidify modifier to the screw object, in order to make sure it intersects with our stencil square ring * Boolean intersect the two - then, only the parts of the stencil that overlap with our screw object are shown. * To stagger the animation effect, go to the animation pane (NLA editor section) and drag the keyframes for the screw modifiers to offset them slightly.
- Motion trails - A particle travelling along a path with animated colours and “motion blur”
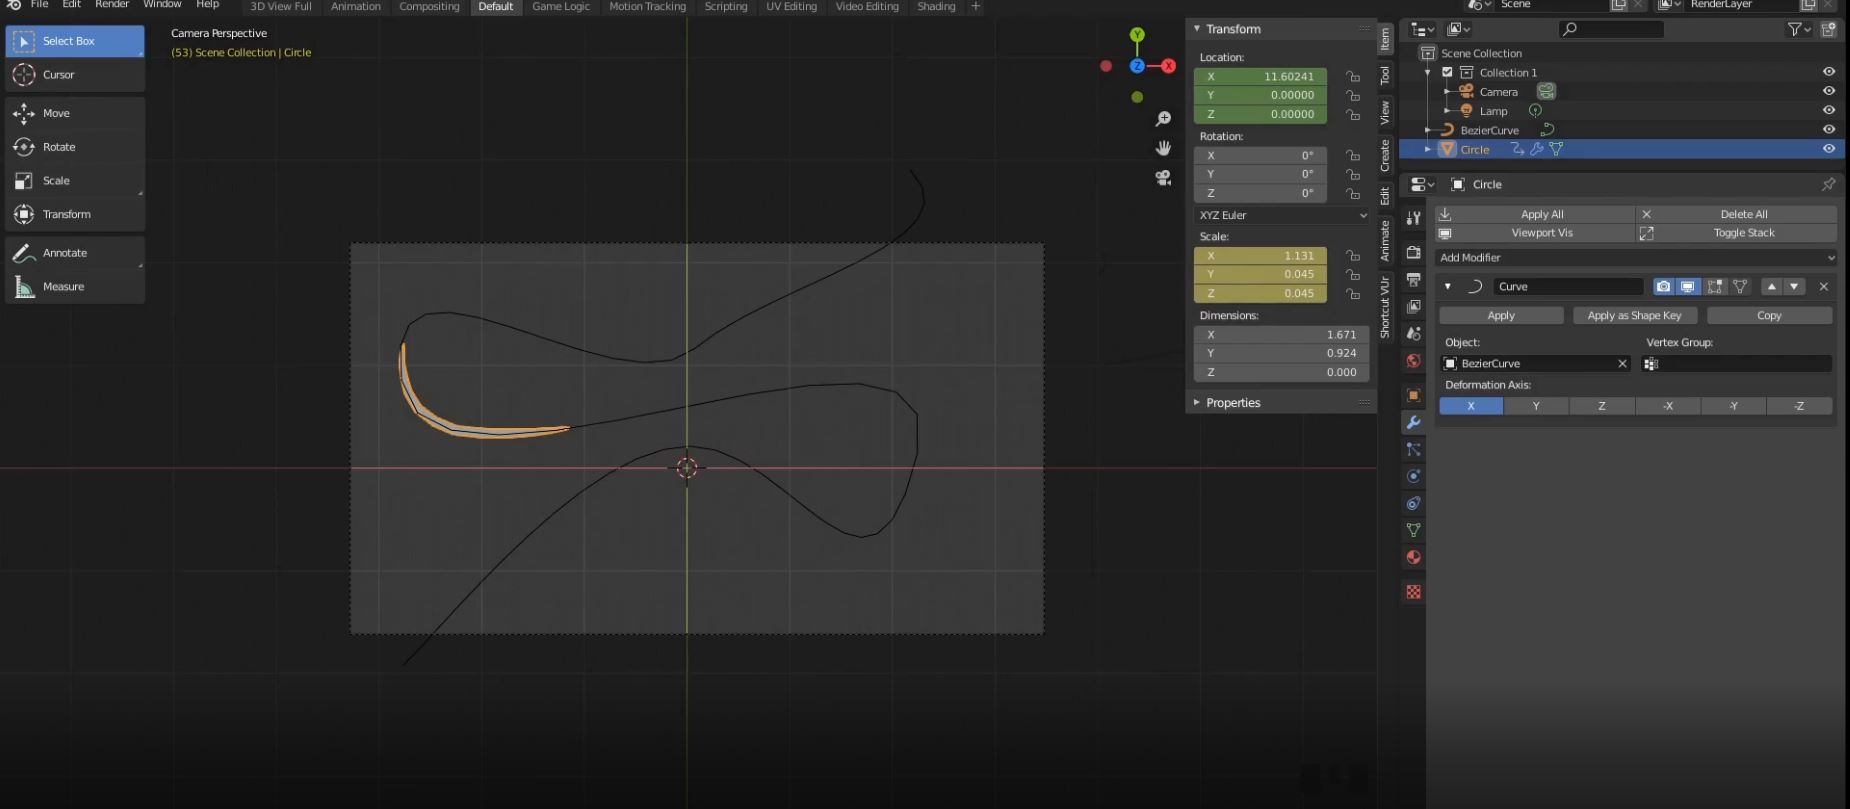
A motion trail can be simulated by scaling an object along a curve tangent axis. This is easy to do with the curve modifier, which allows us to constrain an object’s transforms to a curve.
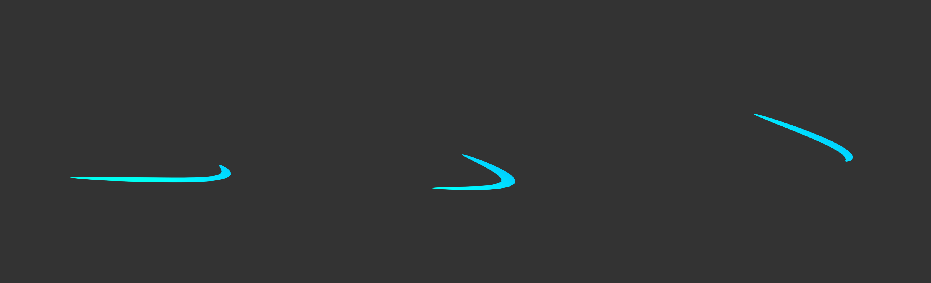
Here, all we need to do is (ensuring you’re in top view), keyframe the x axis position of your particle (use a circle) with a curve modifier attached to your path curve, and you’ll see that sliding it to the right or left will displace it along the curve, and scaling it on the x axis will grow and shrink it along the curve. Note that setting the particle to the world origin will situate it on the origin of the curve.
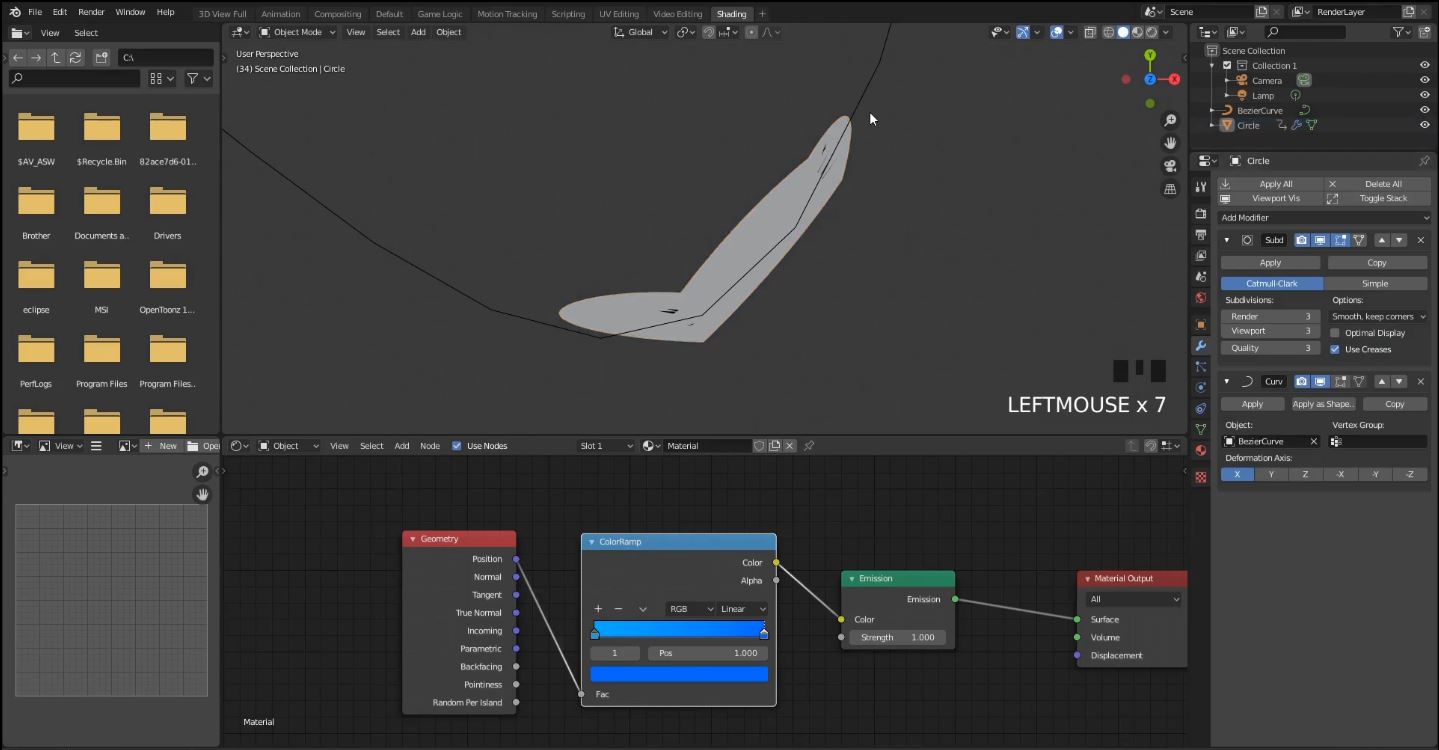
Simply keyframe these animations to make the desired effect. This is a very easy effect to generate, and you can even duplicate the object and keyframe that for multiple offset motion trails. Additionally, you can abuse the geometry node to create some interesting colours, by attaching the position output to a colourramp and plugging that into the colour input of an emission shader.
Finally, to increases the smoothness, subdivide both the circle and the curve. Excessive stretching may result in geometric abberation, but all in all this is a rather good simulation of a motion trail without requiring real motion blur. You can imagine also adding an alpha gradient to the particle to make it appear as if the end is more transparent, like a proper motion blur, but I’ll leave that as homework for now.
- Starbursts - Lots of small particles expanding to fill the screen and then fading from view

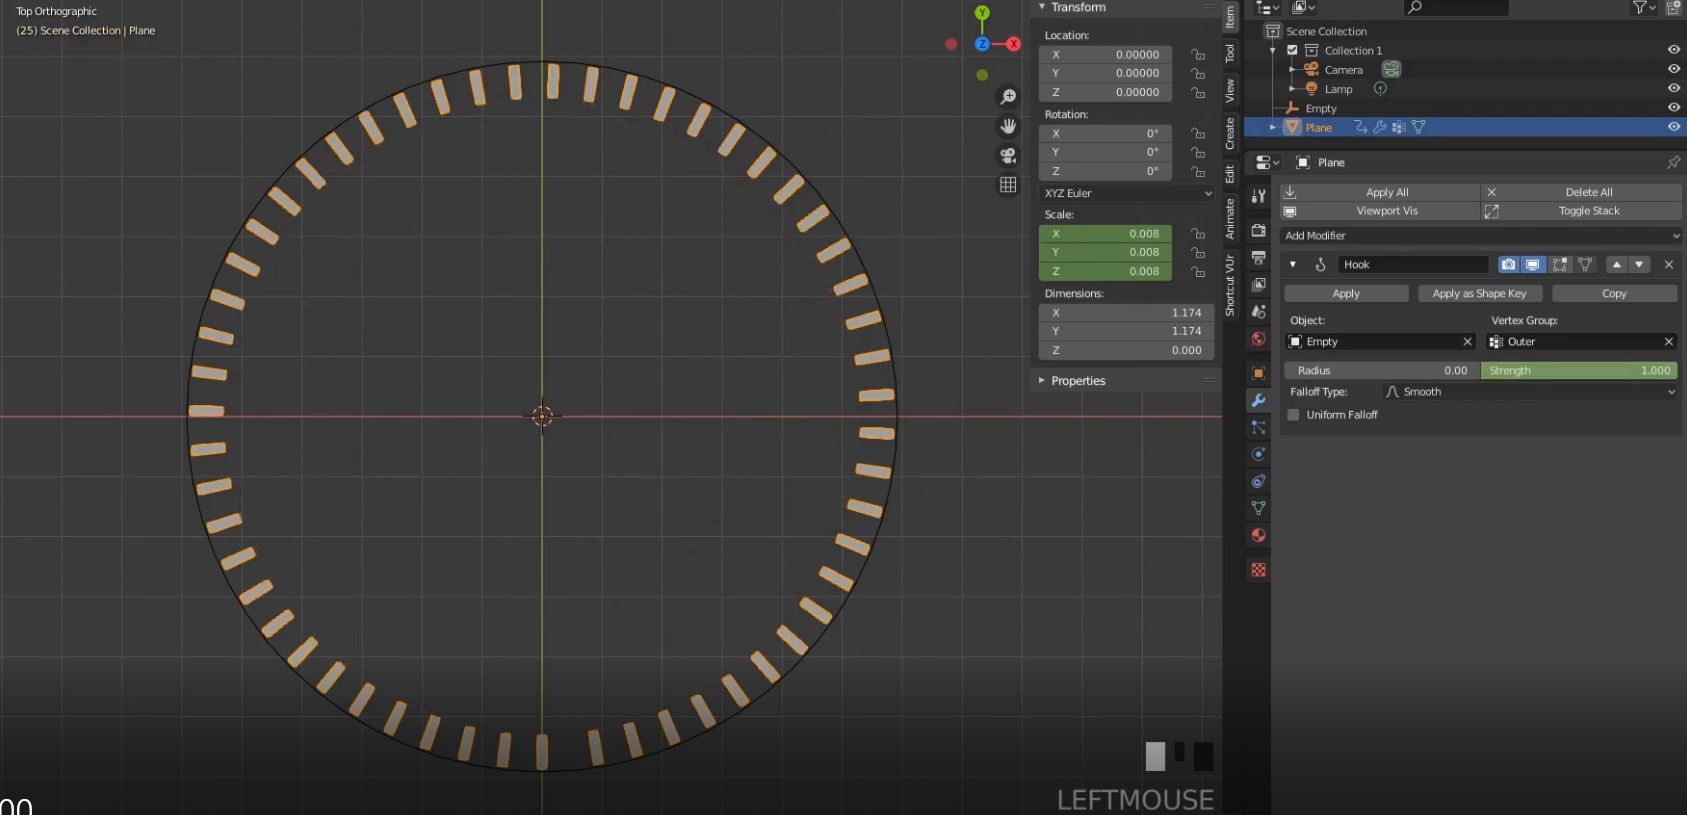
The idea here is to add a vertex group to the outer edge of a ring formed by an array of small objects, then to stick the applicable vertices to an empty hook attractor.
Making the ring is something you can find in this tutorial, though it’s pretty easy if you’re experienced with blender. Just make an array of objects and then apply a curve modifier attaching it to a circle curve. Select the top vertices of the base object (before applying the modifiers) and then give that vertex group called “top”.
Animate the scale of the object from small to large, and then modify the strength of the hook modifier (applied to the “top” vertex group), causing the outer edge of the burst to stick to the hook with decreasing proximity.
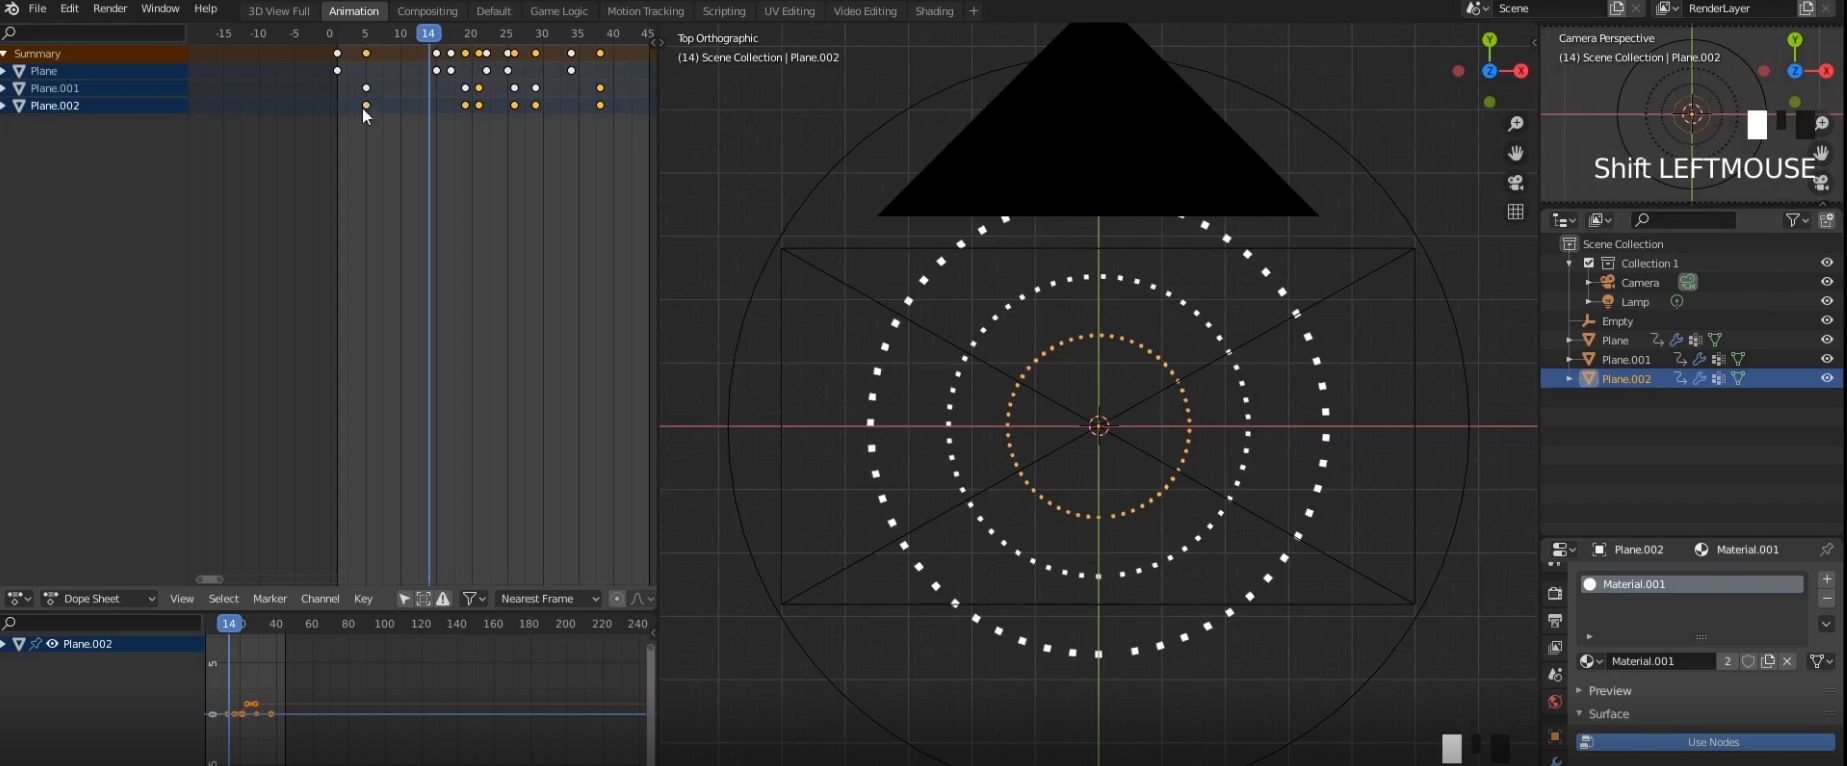
You can duplicate this effect as you like, and offset the keyframing as you see below to create multiple bursts.
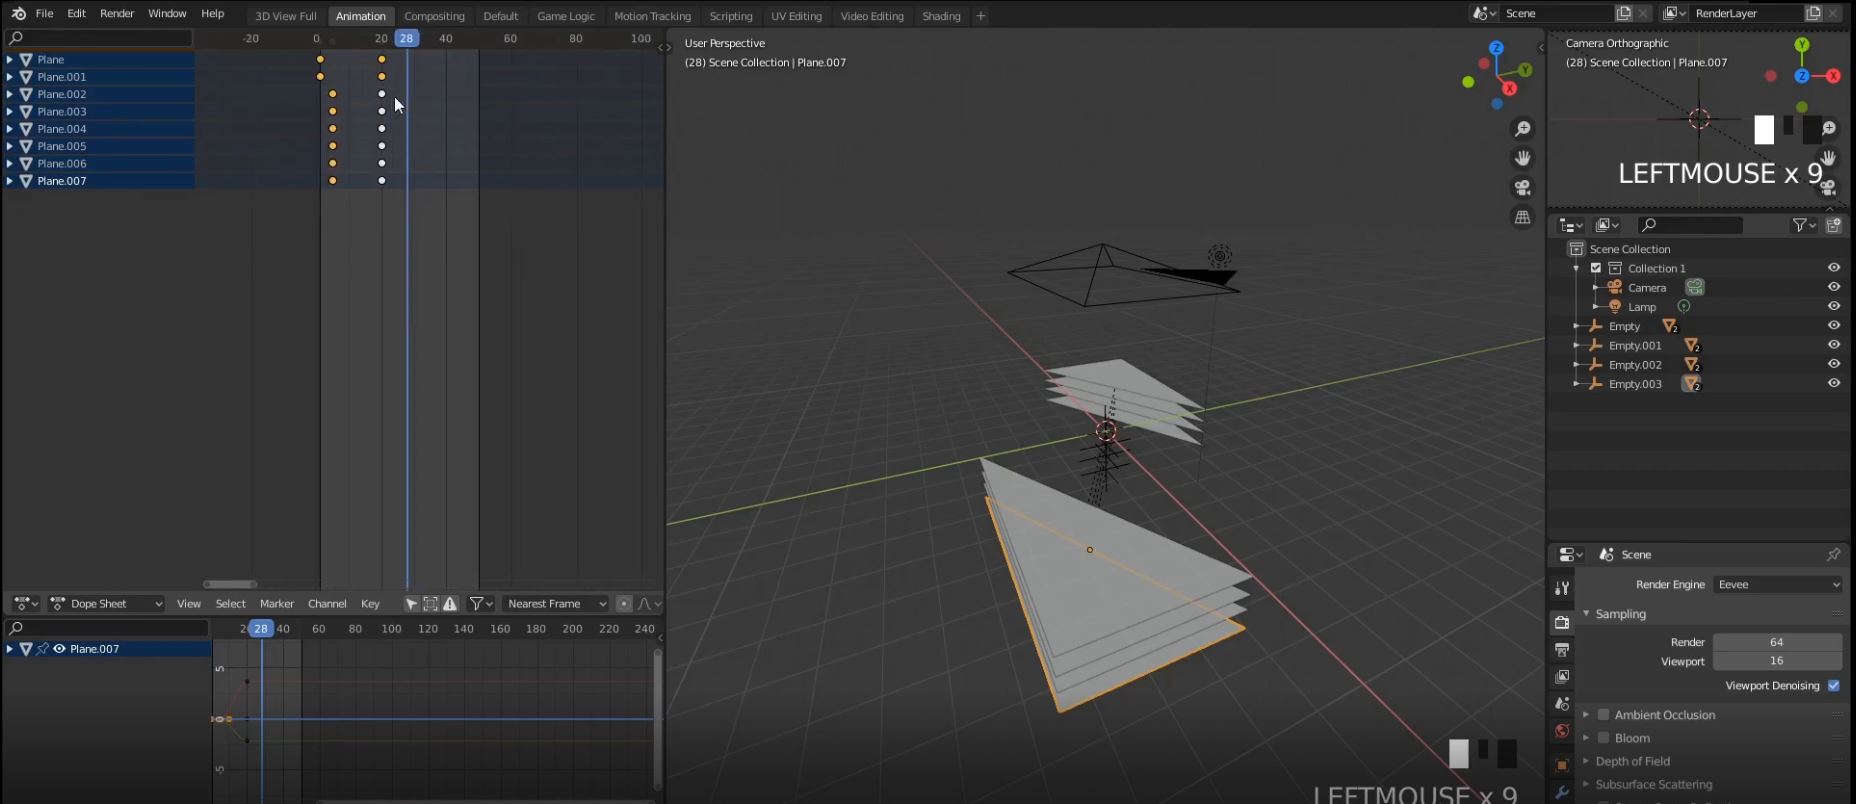
- Bar graph transition - Several bars stretching to fill the screen and transition to the next scene.
![]()
This transition uses a similar effect to the starburst, by hooking the tops of bars and changing the strength to attract them to an empty. However, this empty moves upwards and attracts bars with decreasing strengths with distance, thus resulting in each bar moving at a different rate towards the hook. An image of this is below.
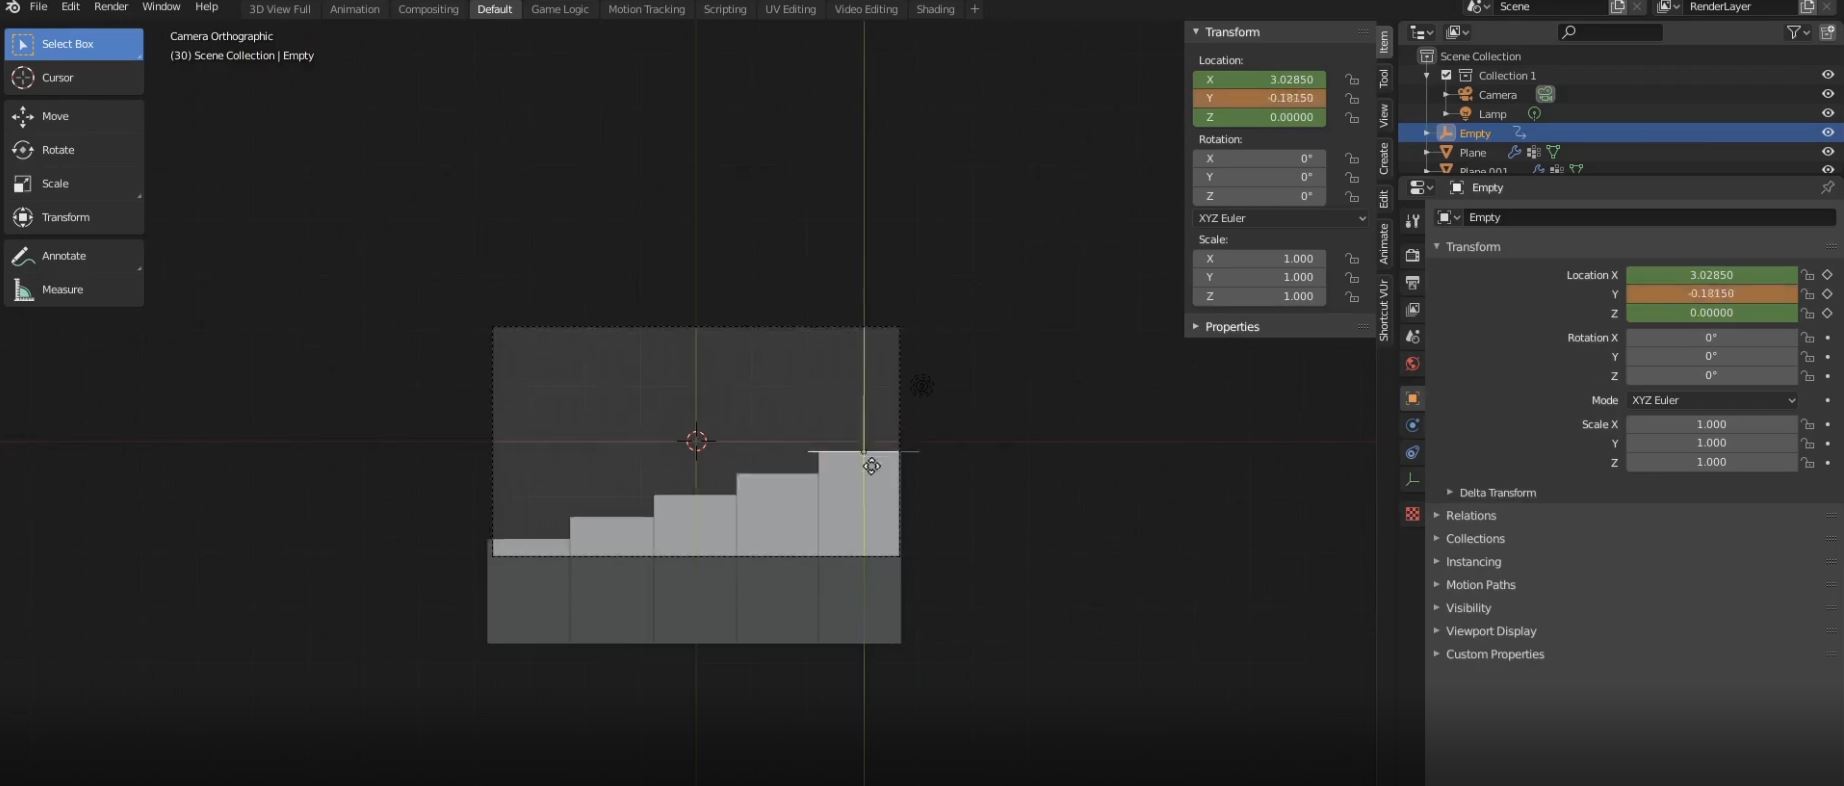
- Panel split transition - A solid screen colour splits with several layers behind it to reveal the next scene.

This simple effect is created with minimal effort, requiring the creation of a layer of screen split planes (the camera view plane, bisected by a diagonal line), and simply animating the translation with different colours on each plane. To prevent vertical changes, please give each plane layer a separate empty and parent the two panel splits to the empty, and then move the empty up and down for vertical displacement. You want these to be in layers, and you can move the empty up and down and reuse the animation with an offset, which can be seen below.
Imagine one of those herb cutting scissors, as that’s effectively the geometry you’re creating.
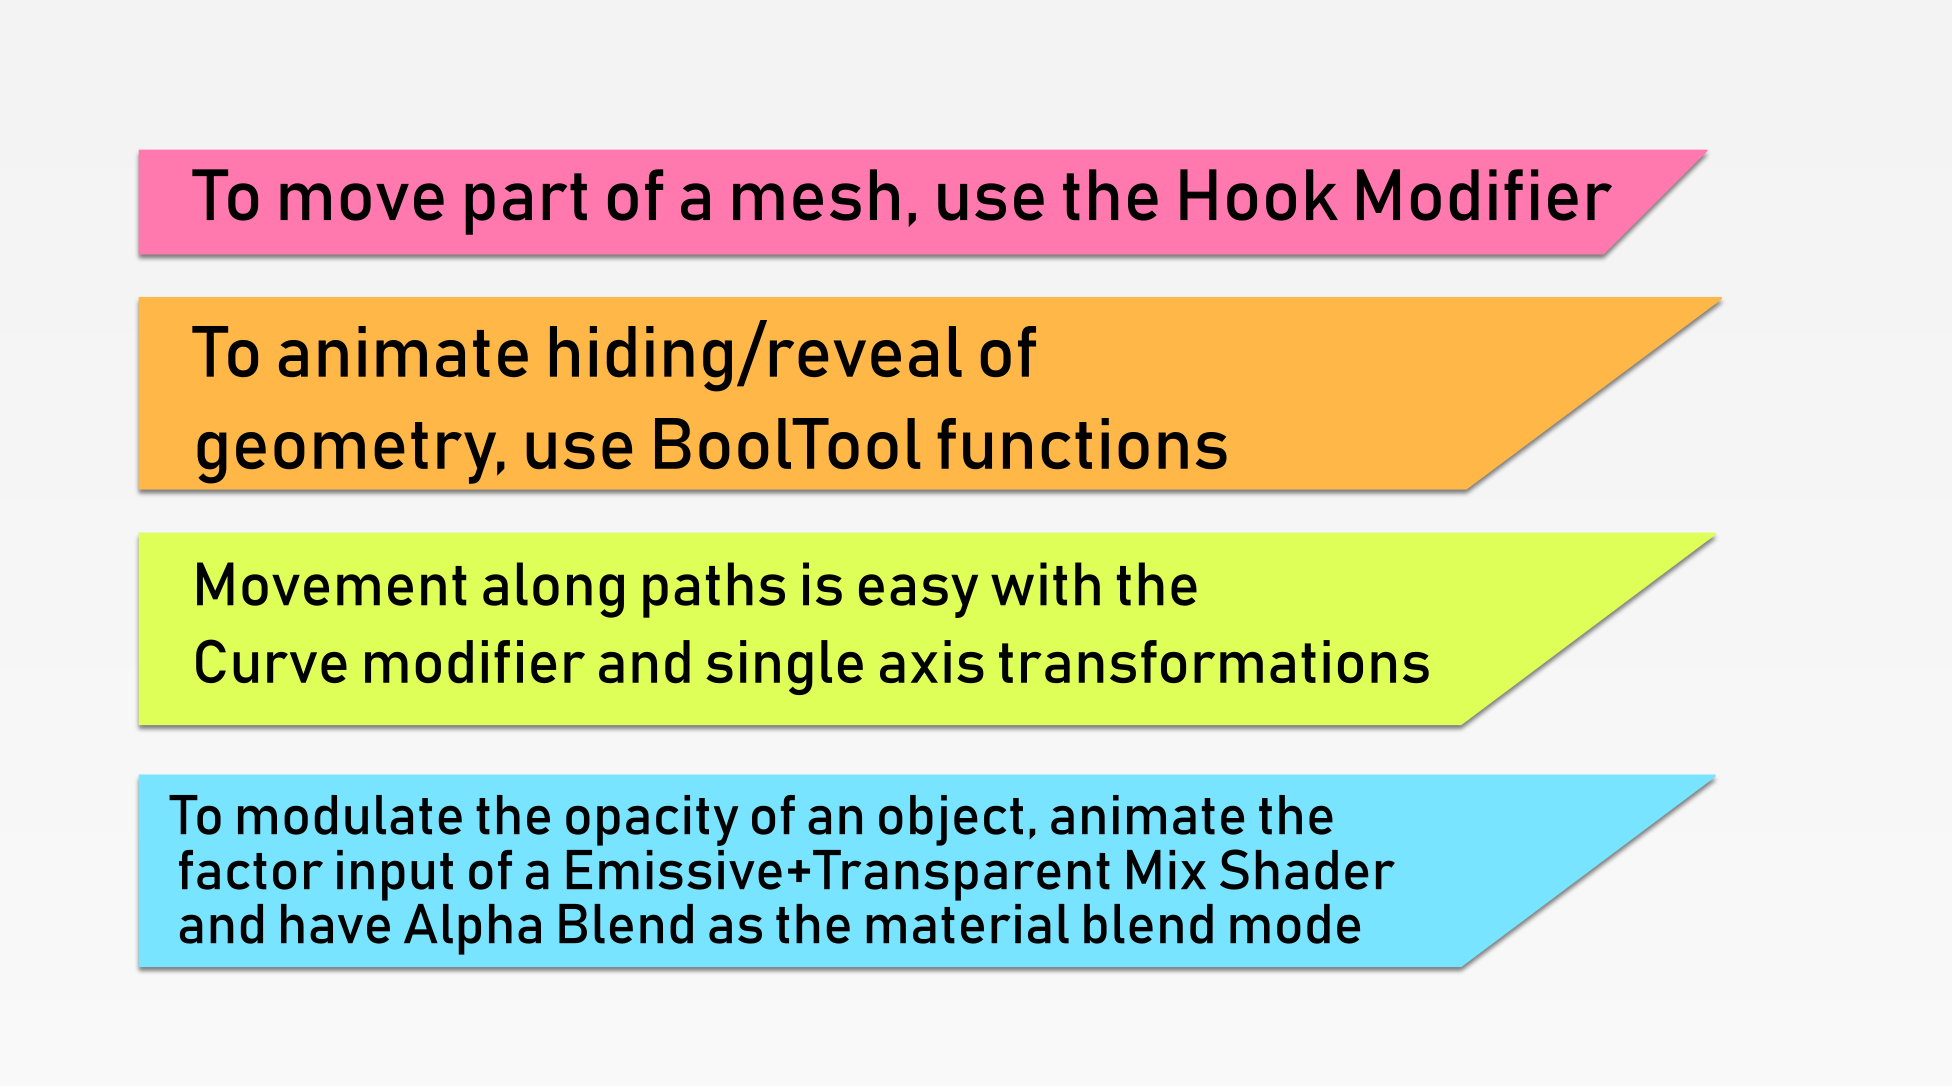
Essential Points
Conclusion
Though Blender isn’t made specifically to create motion graphics effects, its tools can be used to create any effect that you want, provided you spend the time to research and experiment. For further development of your skills, I suggest you find some motion graphics effect, sketch it out, and then figure out what tools you need to make it in Blender. I’ve only shown a small selection of the things you can do with Blender’s modifiers (particularly the Hook, Curve, Screw and Boolean Modifiers), but there’s many more things that are possible with some experimentation and fiddling.
In the future, I’m planning on making some more of these effects, and this time applied to Typography, as they are rather fun to design and create, as well as showing you how to overlay these on your videos by using Blender’s VSE. Stay tuned for that, and subscribe to my Youtube channel so you don’t miss it!